
How does STED work?
You have heard of STED but don’t have a clear idea how it overcomes the diffraction-limited resolution of confocal microscopes? You maybe even think it to be somewhat complicated? In fact, it isn’t. It’s just physics, smartly applied. Read on to learn how it works.
microscopy beyond the barrier
A matter of waves
Conventional light microscopy has been around for hundreds of years, has been and still is of great service to science . It is capable of peeking into organisms and even cells and resolves details invisible to the naked eye. But there is something standing in its way and preventing it from resolving even smaller details: the diffraction limit. It confines the resolution of even the most powerful conventional light microscopes such as confocal systems to roughly half the wavelength of the light used, which corresponds to roughly 200 to 400 nm. Any two points closer together than this cannot be separated by conventional light microscopy because their point spread functions (PSF) overlap and they appear as a single light source.
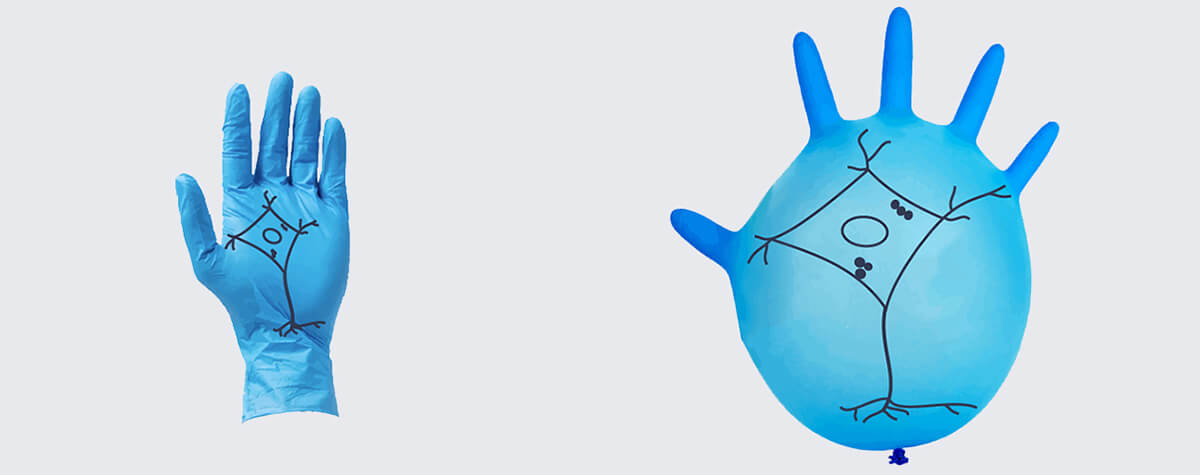
Due to diffraction, the area illuminated by a focused excitation laser (green) is always larger than half the wavelength of the light used. Every molecule (black) located within this area emits light. If there is more than one there is no way they can be distinguished.
If you seek a thorough explanation of what precisely the PSF is, what it has to do with resolution, and the physics determining the diffraction limit, check out this article in our knowledge base.
Beating the odds of light
When Stefan Hell invented STED microscopy more than twenty years ago, he of course did not change the laws of physics. He merely outsmarted them. His idea: don’t allow all fluorophores in the excitation spot to emit light at the same time to be able to distinguish them. And this is how he did it: in STED, like in confocal microscopy, fluorophores in the sample are excited by a laser pulse, which generates a conventional, diffraction-limited focus. So far, so ordinary. The trick is using a second laser pulse. This one is of a longer wavelength than the first and transiently knocks back all fluorophores it reaches to their ground state, before they can emit any photons. This effect is called stimulated emission depletion, or STED for short. So here is a tool that allows the targeted on- and off-switching of fluorophores.
As a side note: the general concept of switching fluorophores on and off is something STED shares with other superresolution methods like PALM/STORM. What sets STED apart is that it reaches superresolution by applying pure physics and generates superresolved raw data. So there is no need for post-processing in STED (but it’s possible, of course). In contrast, PALM/STORM and also SIM require extensive processing of the acquired data to generate a meaningful image at all.
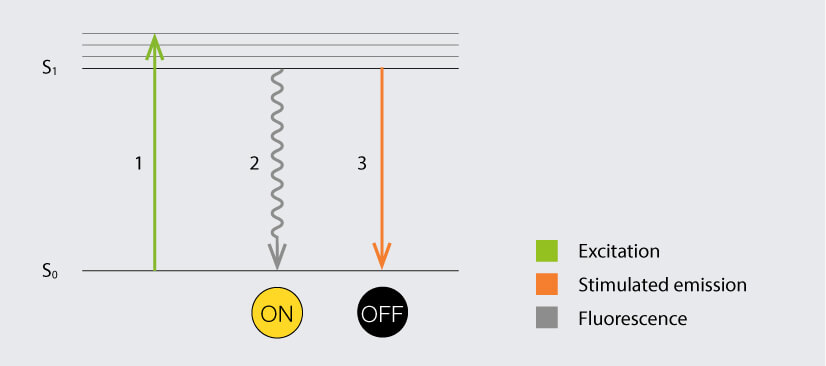
Jablonski diagram of the STED process of a fluorescent molecule. After optical excitation (1) from the ground state S0 to the first excited state S1, the molecule would usually return to the ground state under emission of a photon (3). Exposure of the excited molecule to STED photons de-excites it to the ground state without emission of fluorescence (2).
But back to the STED principle: As long as the STED beam has the same shape and covers the same area as the excitation beam, all excited fluorophores are pushed back to the ground state and nothing is won. The gain in resolution beyond the diffraction limit only comes with a manipulation of the STED beam. It’s modulated so that its laser intensity is zero in the center – effectively, it has a hole in its middle, making it look like a donut (read here how it’s done). That way, all the fluorophores in the outer regions of the focal spot are de-excited while the ones in the center, where there is no STED light, continue to normally fluoresce as if nothing had happened. The result is a photon-emitting focal spot much smaller than the diffraction limit.
You may now argue that the donut itself is still limited by diffraction – and you are right! However, a second effect comes into play here, namely that the STED effect saturates. There is no such thing as switching a molecule “more off” than it already is. This is the nonlinearity that fundamentally breaks the diffraction limit, confining the region from which fluorescence is allowed to the very center of the donut.
But what about detection? It is diffraction-limited, as well, isn’t it? Indeed it is. But with the donut confining fluorescence to a small region, we know that all detected photons must necessarily originate from there. And as the location of this spot is precisely known by the scanner position, we precisely know the location of the molecule, even if its image on the detector is again diffraction limited.
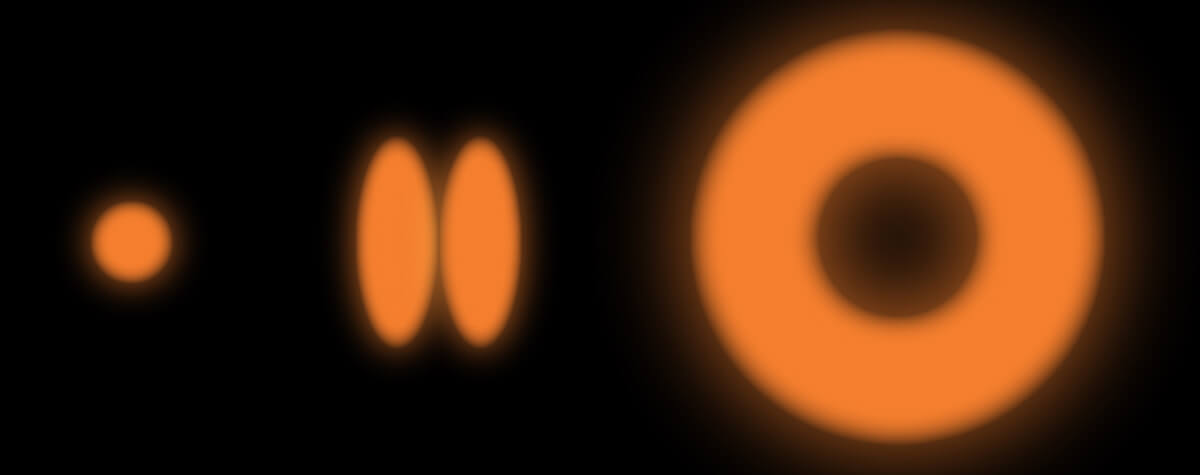
The STED donut: the red-shifted STED beam confines molecules to the ground state (off-mode). Only the molecules in the zero-intensity center hole of the STED donut emit photons, and any fluorescence that is detected must necessarily come from this sub-diffraction-sized spot.
The complete image is created by scanning the overlayed focus of both beams through the sample. At each position, the signal from the very center of the focus is detected.
Why it’s not molecular resolution
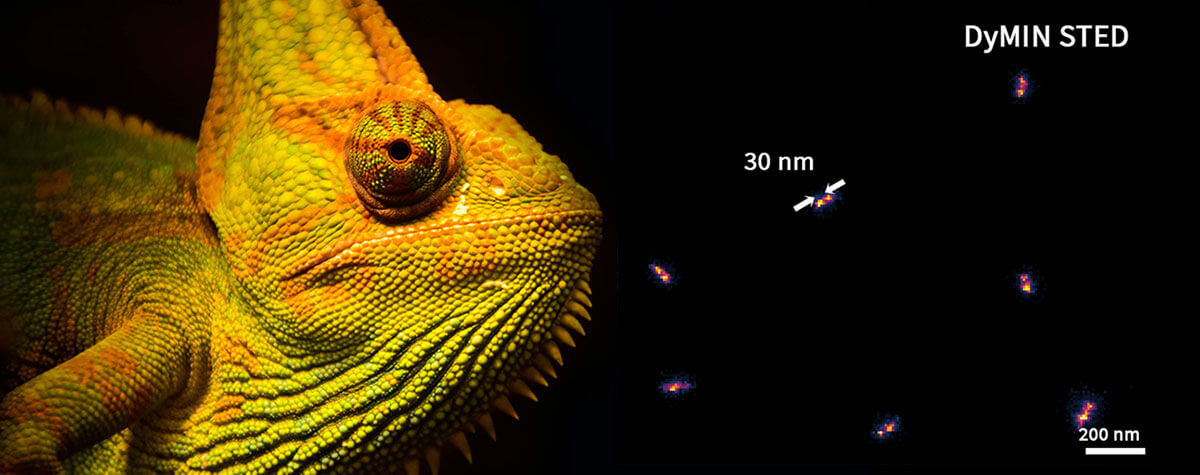
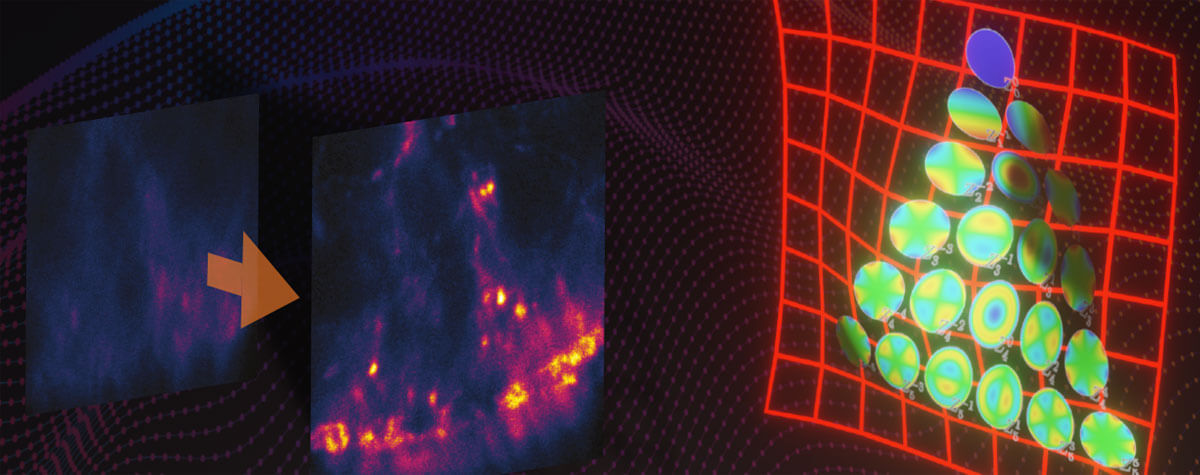
Generally, higher STED laser power means higher resolution. But the relationship is not linear: Even modest STED powers immediately result in a large increase in resolution. In theory, increasing STED power will eventually result in an infinitely small fluorescing area (again, read our article on resolution for the why), which would mean that it’s just a matter of laser power to achieve single-digit nanometer resolution. This logic obviously cannot stand up to practice, where increasing laser power will rather sooner than later lead to secondary unwanted effects, such as photobleaching. Routinely, STED microscopes reach a standard resolution of about 30 nm in biological samples.
This resolution can be further improved to less than 20 nm by sophisticated modules like abberior’s FLEXPOSURE and TIMEBOW: FLEXPOSURE adaptive illumination intelligently reduces the light dose on the sample by switching the lasers off where there is no structure to be detected. The saved photon budget can either be invested in resolution or more images of the same region in a time-lapse experiment. TIMEBOW provides fluorescence lifetime information. As the signal’s lifetime depends on the distance from the donut center (lifetime drops as de-excitation increases), it encodes spatial information that can be used to increase resolution.
Summed up, the secret of STED is essentially little more than adding a second, donut-shaped laser beam to your system that de-excites fluorophores and narrows down the region in which fluorescence is allowed to happen to a sub-diffraction limit size.
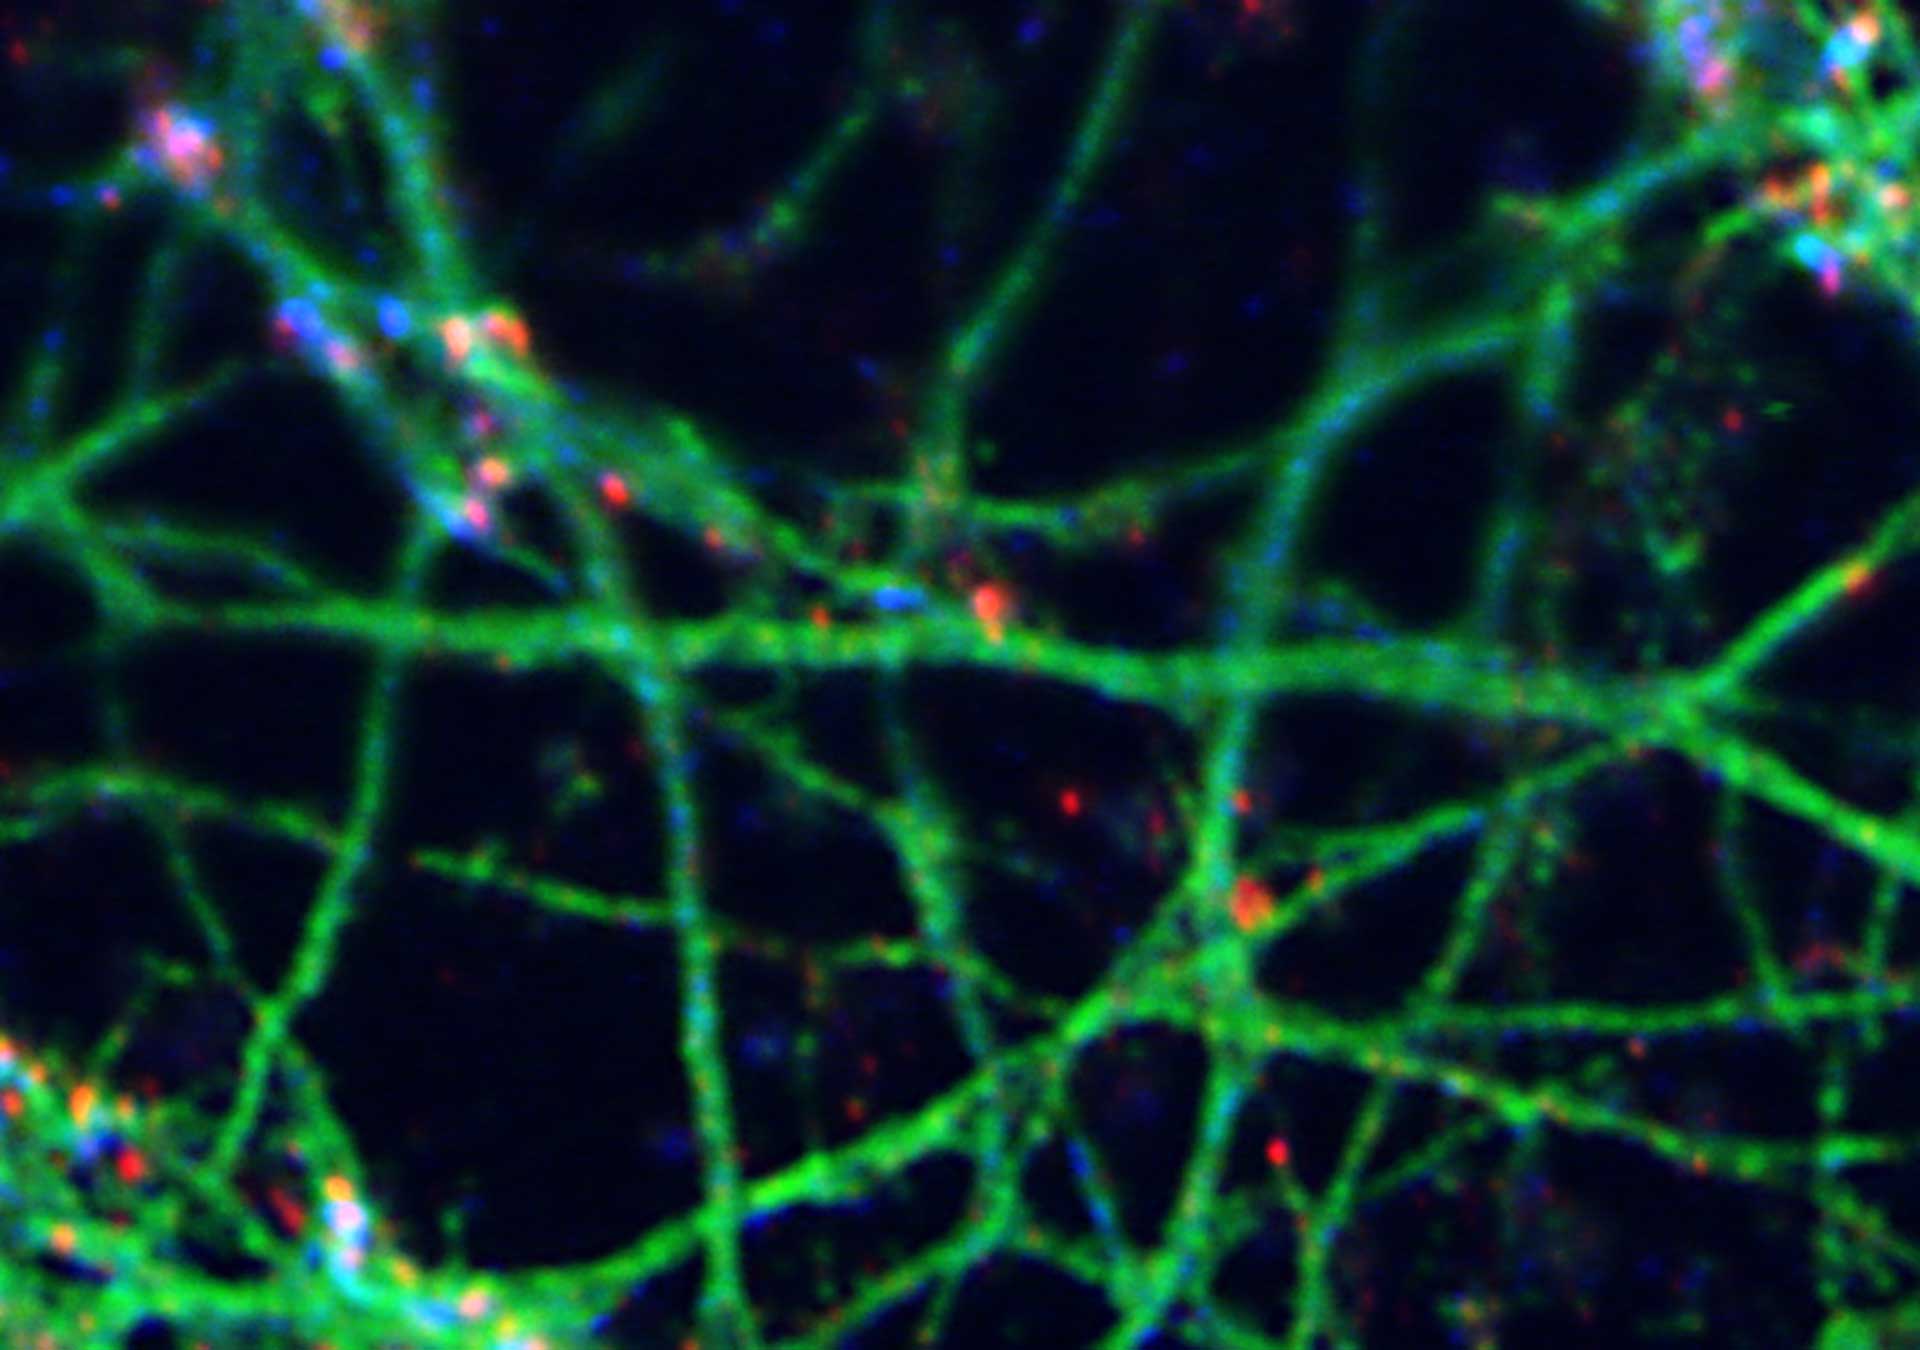
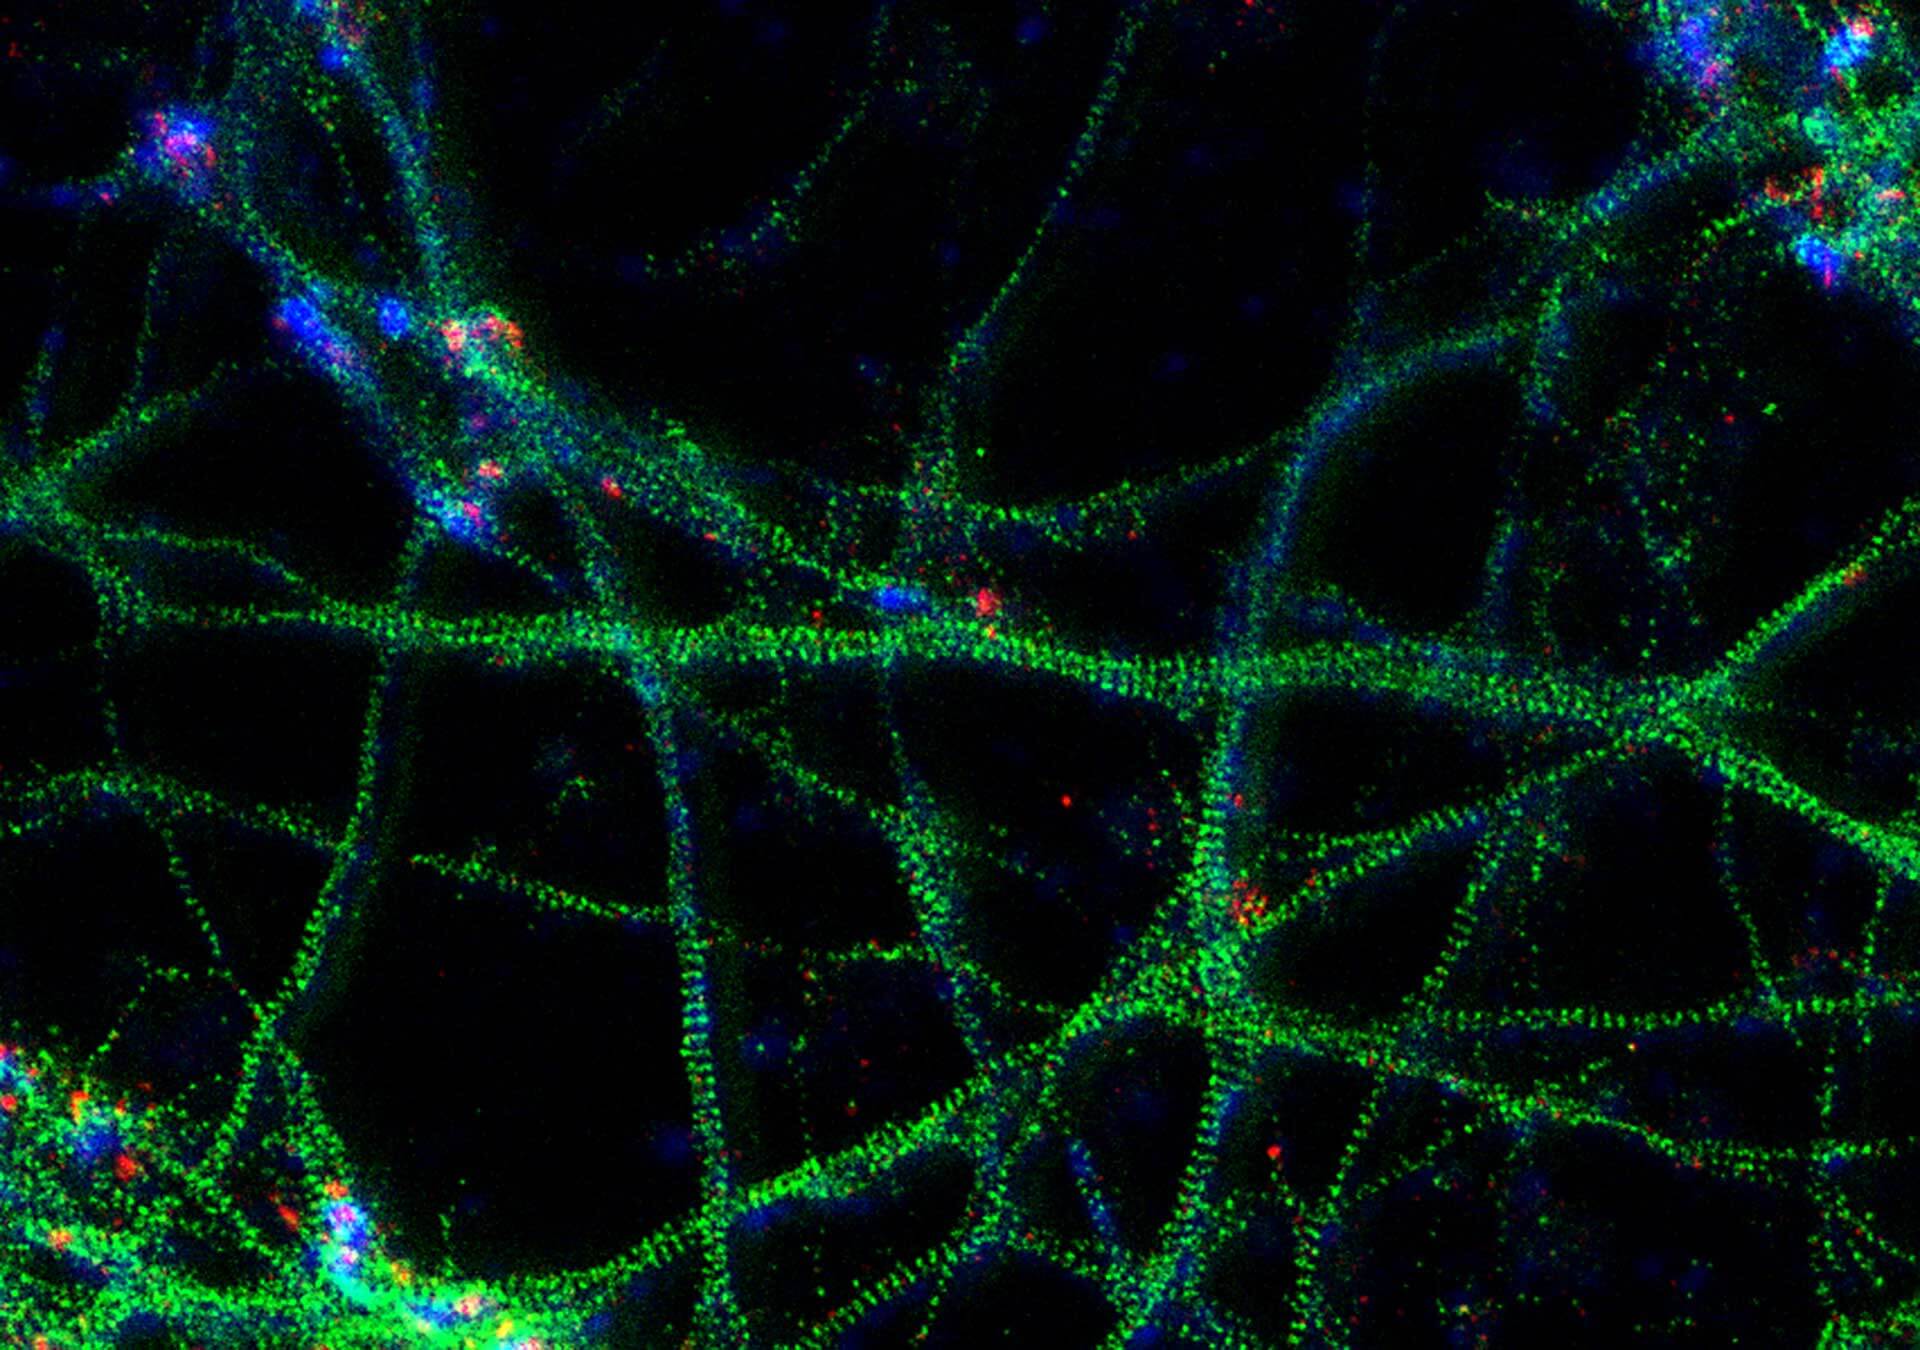
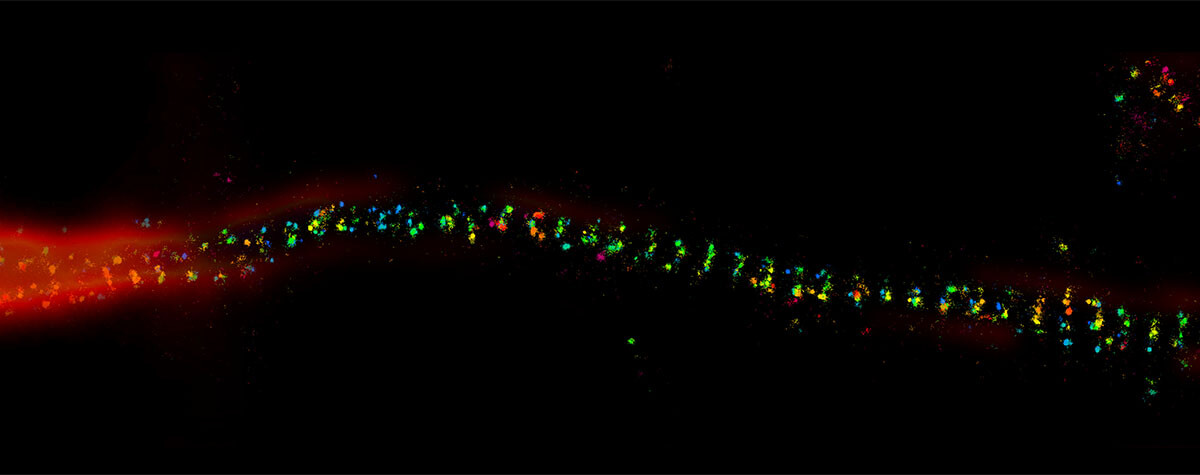
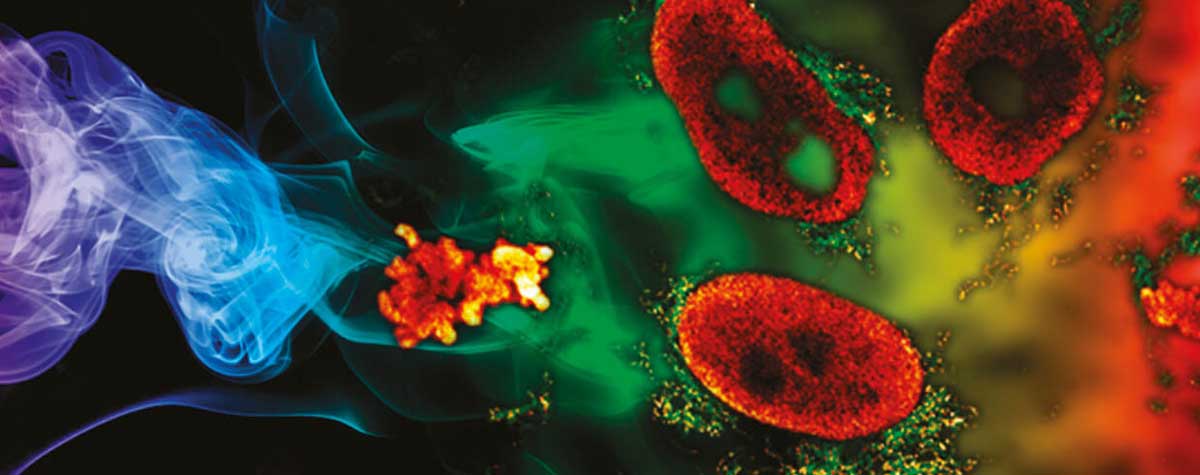
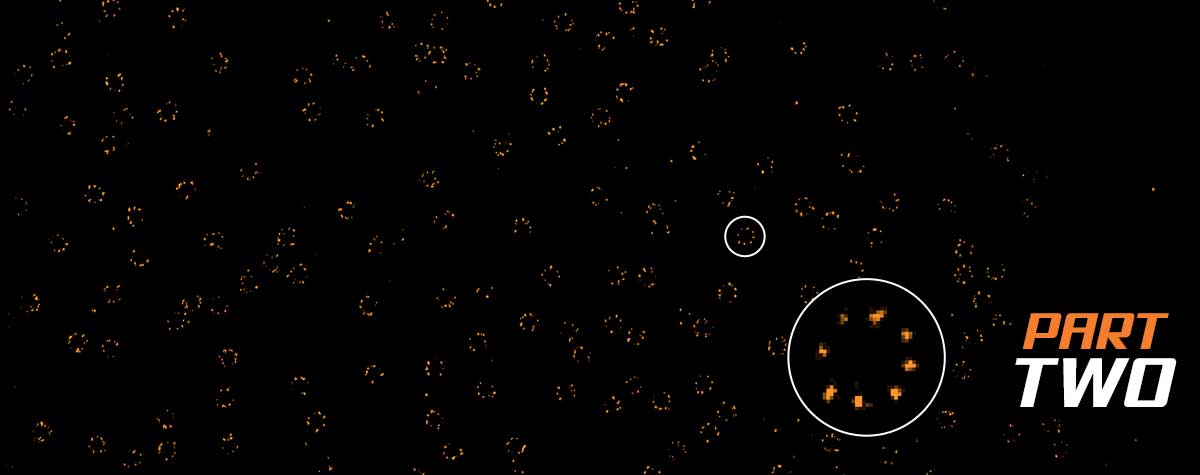
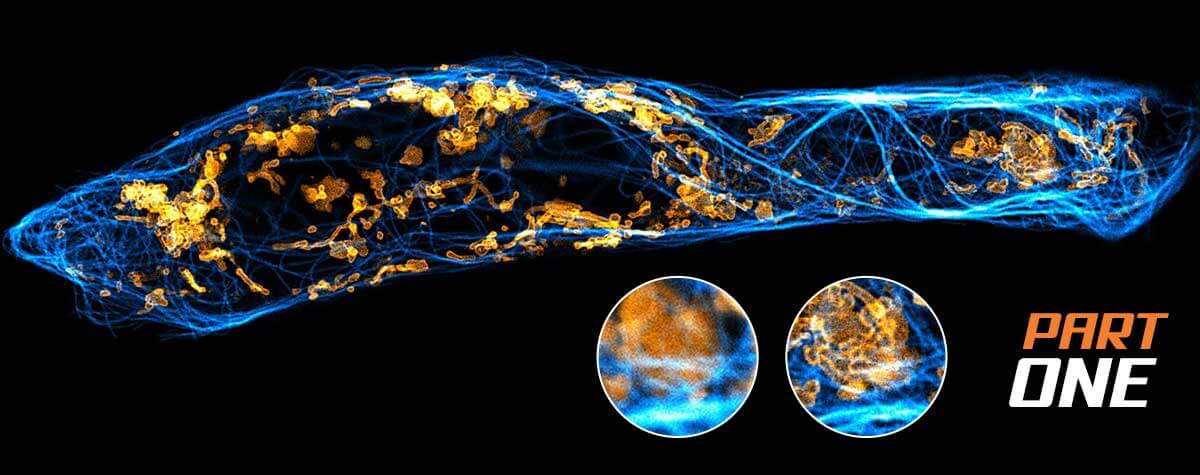
The result of an ingenious trick: STED overcomes the diffraction barrier and yields superresolved images like this one: A 3-color image of primary hippocampal neurons revealing the approx. 190 nm βII spectrin periodicity along distal axons (green, abberior STAR 635P), which is only visible in the STED image. Further labeled structures: Bassoon (red, abberior STAR 580), actin cytoskeleton (blue, phalloidin, Oregon Green 488). Sample courtesy: Elisa D’Este, MPI for Biophysical Chemistry, Göttingen, Germany.
There is more to STED than meets the eye
However, building a STED microscope that reaches maximum resolution while keeping the light burden low requires sophisticated engineering on both the hardware and software level – something we at abberior are quite proud of, to be honest. A central prerequisite is, for example, that the hole in the STED donut is a true intensity zero, and that the beam size can be flexibly adjusted to the back aperture of various objective lenses. This is something not every STED microscope is capable of.
Now you know how STED works on the conceptual level. But it does not end here. If we sparked your interest, you may continue to browse our knowledge base and learn about the set-up of a STED microscope and why operating a STED system is not any more difficult than using a confocal, or how the hole comes into the donut.
And then there obviously is the question most relevant for biologists: how does the resolution gain impact my research? What do I see with STED that I don’t see with other imaging methods?