

Mitochondrium labeling protocol
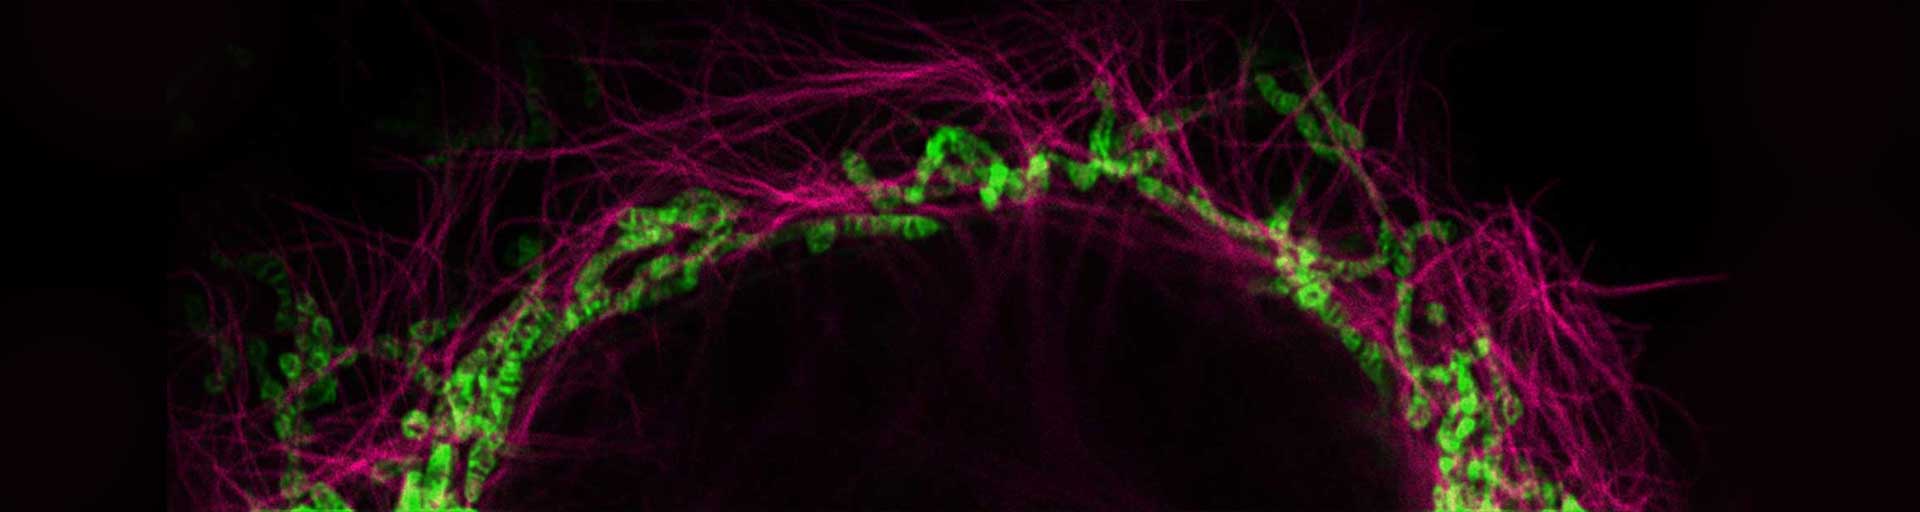
Our abberior LIVE RED and ORANGE mito probes can be readily used to specifically label the cristae in the mitochondria of living cells. These bright and photostable probes allow the observation of the natural behavior of substructures inside mitochondria with super-resolution STED microscopy.
for easy and proper application of our labels
abberior LIVE mito: Advanced dynamic mitochondrial imaging solution
abberior offers a variety of excellent fluorescent dyes with optimized properties for the labeling of biomolecules, spectroscopic studies, optical microscopy, and particularly optical nanoscopy featuring STED super-resolution.
Our abberior LIVE RED and ORANGE mito probes can be readily used to label the cristae in the mitochondria of living cells specifically. These bright and photostable probes allow the observation of the natural behavior of substructures inside mitochondria with super-resolution STED microscopy. Minimal bleaching and reduced toxicity of these probes allow long-term imaging of mitochondria in living specimens.
Combined with our abberior LIVE dyes, you get a toolbox of super-efficient probes, that provide specific labeling of intracellular targets and outer cell membrane, making long-term multi-color live-cell imaging possible. Additionally, extremely low nanomolar probe concentrations reduce potentially toxic effects and cellular stress.
Storage
Our abberior LIVE mito labels are freeze-dried and shipped at room temperature. Upon arrival, the product can be stored for up to one year at –20 °C. Proximately before the staining procedure dissolve the probe in DMF or DMSO. Once dissolved, the stock solution should be kept at –20 °C, protected from light and moisture.
Note: Depending on solvent quality the shelf-life of the stock solution might be significantly reduced compared to the probe in its solid form – even if stored at –20 °C.
Staining of the cristae structure using abberior LIVE RED & ORANGE mito labels
The procedure described below has been successfully tested with our abberior LIVE mito labels in several adherent mammalian cultured cell lines. These procedures may not be optimum for certain experimental conditions but have yielded consistent results in most instances.
Note: This staining procedure works for abberior LIVE 510 mito, a triphenylphosphonium-based probe that fills mitochondria without showing cristae. It still provides bright, vivid real-time images, allowing detailed observation of mitochondrial dynamics in living cells.
Required reagents / equipment; not provided
- water-free DMF or DMSO
- glass coverslips, glass-bottom dish, or similar imaging chamber with a glass thickness of ~170 μm (No. 1.5 or No. 1.5H)
Note: We do not recommend using plastic coverslips or live-cell chambers with plastic bottoms because only suboptimal imaging results are achieved. If possible, coverslips with grids, gratings, or similar should be avoided, as these structures can interfere with imaging causing aberrations that degrade image quality - Live-cell imaging medium (e.g. evrogen DMEMgfp-2)
- Tweezer
- Optional: Cavity slide or coverslip holder
- Optional: silicone glue (e. g. Twinsil, Picodent)
- Fluorescens microscope with live-cell incubator and suited excitation light and detection filter
Staining procedure for cultured cells
Depending on the doubling time of the cell line, the seeding time must be determined. Seed cells in a desired density in a cell culture chamber or onto coverslips before labeling. Use a standard cell culture medium that is optimal for the cell line.
Note: Cells grown in very high densities, i.e., a confluent layer, may give rise to high labeling background.
Note: For units with the article numbers LV510-0146-30NMOL, LVORANGE-0146-30NMOL and LVRED-0146-30NMOL please contact support@abberior.com to obtain the appropriate protocol.
Staining and imaging will take place on the same day
- Prewarm the live-cell imaging media to the optimal temperature required to cultivate the desired cell line. In most cases, this would be 37 °C.
- Prepare the stock solution by dissolving the probe in 150 µl of either DMF or DMSO.
Note: If you are using an evaluation sample, dissolve the substance in 20 µl DMF or DMSO to receive a concentration of 0.1 mM. - Prepare the staining solution by diluting the stock solution 1:1000 in prewarmed live-cell imaging medium. Depending on the cell type, adjustment of the dilution may be necessary.
Optional: Our extended LIVE probes can be combined with our abberior LIVE mito probes. Add them to the staining solution for multicolor live-cell imaging.
Note: The staining solution is not stable for extended periods of time. Therefore, it is recommended that you only prepare enough solution for immediate use. - Remove the cell culture medium and rinse the cells once in the prewarmed live-cell imaging medium.
- Remove the medium and add enough staining solution to the cells. Incubate for 45 to 60 min at optimal cell growth conditions (temperature, humidity, CO2-controlled environment).
- Afterward, cells are rinsed three times with a fresh live-cell imaging medium. Followed by an additional 15 to 20 minutes of washing step in fresh live cell imaging medium.
- Cells are embedded in a fresh live-cell imaging medium.
If coverslips were used: simply take the coverslip out of the staining solution using tweezers. Place the coverslip in a
i. coverslip holder or
ii. mount it onto a cavity slide (cells facing downwards) which is filled with fresh live-cell imaging medium.
In case of (ii) remove the excess imaging medium using tissue paper. Gently press down the coverslip to prevent it from moving. The mounted sample can be sealed using silicone glue (e. g. Twinsil, Picodent). - After staining and embedding, the samples should be immediately imaged on a microscope equipped with a live-cell incubator.
Note: For live-cell imaging, cells must always be kept at ambient conditions (temperature, humidity, pH, and CO2-conditions). This is particularly important for long-term measurements.
Abbreviations
DMF N,N-Dimethylformamid
DMSO Dimethylsulfoxide
STED Stimulated Emission Depletion